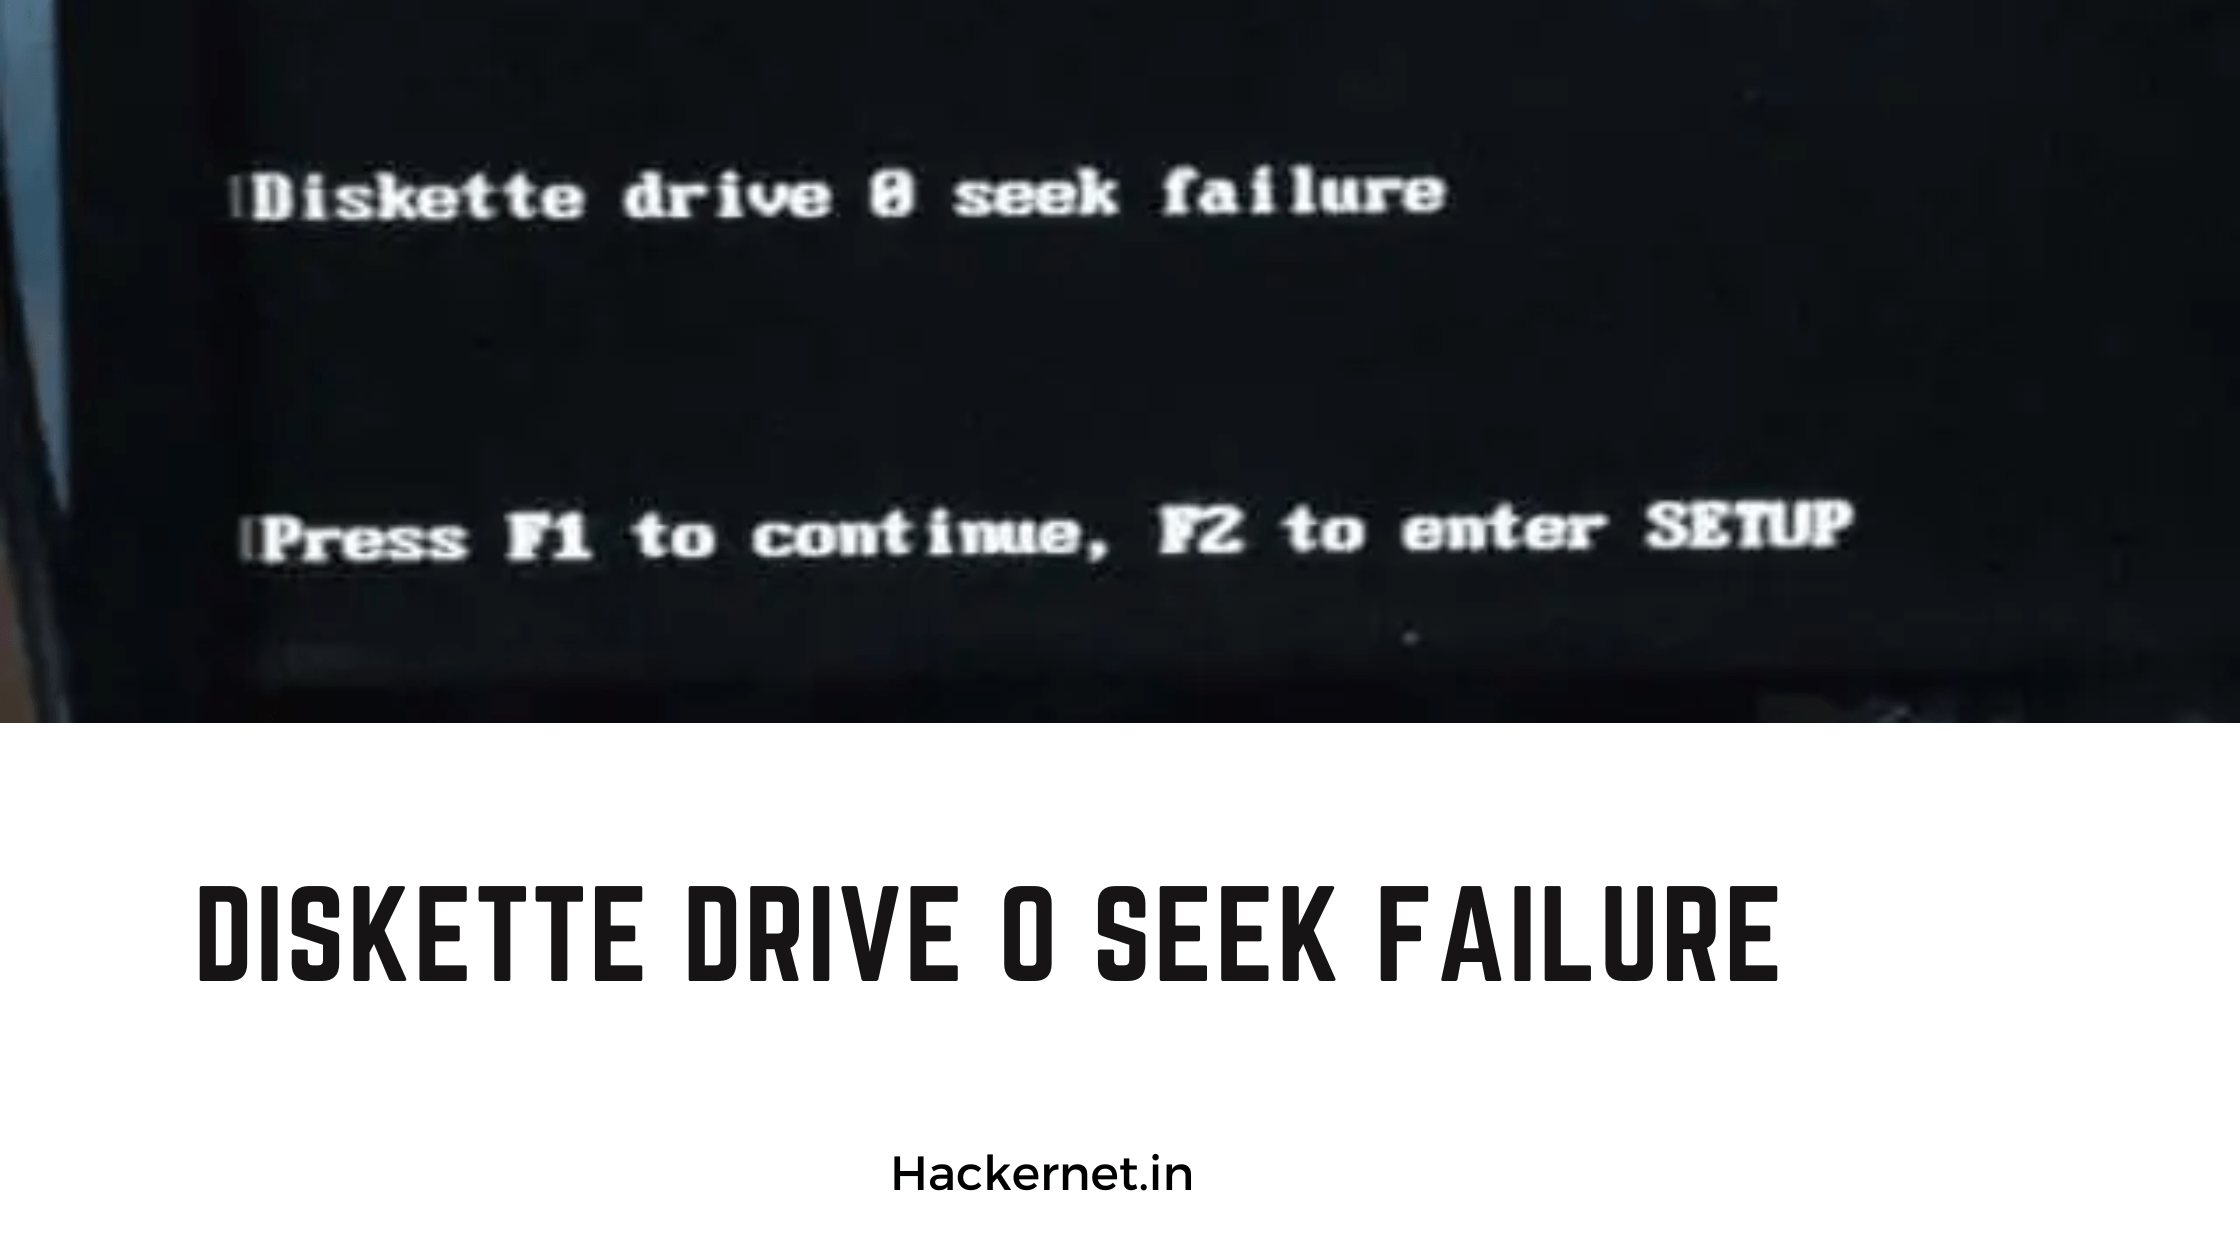
If you receive the diskette drive 0 seek failure error when starting your computer, it is due to a problem with the machine booting from a floppy disc drive or bootable device. This, however, does not necessarily imply that there is a problem with the floppy drive itself.
How to fix Diskette Drive 0 Seek Failure
When computer users try to launch their PCs, they encounter the diskette drive 0 seek failure error, which some of them do not understand. I’d like to give a little explanation here.
To begin, what exactly is a diskette drive? On IBM-compatible computers, the diskette drive, often known as the floppy disc drive, is commonly the A: or B: drive. The drive allows users to read and write data to floppy disc drivers, but it has long since become outdated, and only a few manufacturers still include it in their devices.
So, if you suddenly receive disc drive 0 seek failure during the botting process, it signifies that your computer attempts to find but fails to find or access a diskette drive on your machine.
If you have a floppy disc drive in your computer, the culprit if your computer does not have a floppy disc drive, the error indicates that the drive has been added to the boot order devices. Remember if you recently altered the BIOS settings. If this is not the case, examine the following scenarios.
- You’ve changed the hardware in your computer, such as adding RAM or removing the CMOS battery (but keeping your BIOS settings alive or unmodified), etc.
- Your CMOS battery would possibly have died. Once that happens, your BIOS loses electricity and is reverted to factory settings which consist of an enabled diskette drive.
If the error occurs due to disc drive 0 seek failure due to CMOS battery then check the following things.
Fix 1: Replace the CMOS Battery
- If disc drive 0 seek failure occurs with the CMOS battery then you need to replace CMOS Battery.
- To replace the CMOS battery, open the system case and replace it with the new one.
Fix 2: Check the following setting in BIOS
- turn on the pc and immediately press F2 to get into bios.
- Go to the Boot sequence and hit enter.
- 3. Go to drive and expand it by pressing enter.
- Now select diskette drive and you would see it selected in] [INTERNAL] OR [READ ONLY] OR [USB].
- Just simply change the settings to [OFF]
- Press [ESC] once and now save the settings [SAVE/EXIT] and exit.
or
you need to press f2 then go to Standard CMOS Features, then highlight drive A. to change it to none. should not have anything in there unless you have a floppy drive.
Fix 3: Disable Diskette Drive in BIOS Settings
- Check the boot order and set the hard disk as the primary disk drive.
- If any floppy disk drive is a primary disk then remove it.
- If this error may occur due to Harddisk issue. So check the disk


Leave a Reply